
部屬 Django App 在 Docker 容器中
當我們在寫 Django 的時候,會使用以下 command 去做開發,
1
python manage.py runserver
Django 支援的內建 server 可以讓我們即時看到更改後的內容及錯誤,在開發階段十分重要。
但當我們完成開發後,需要部屬時至主機時,我們該如何設定 ?
Django 官方特別註明不可使用內建 server 作為部屬的工具。
以下示範在一個 container 中部屬 Django app
部屬 Django app 需要:
- 應用伺服器 ->
Gunicorn - web 伺服器 -> 這邊我們使用
Whitenoise,Whitenoise 並不是一個完整的 web server,而是一個中間件,主要用來優化 Django 的靜態文件服務
Gunicorn
Gunicorn (Green Unicorn) 是一個基於 WSGI 的 Python web 伺服器。它被設計為高性能、可擴展並且易於部署,特別適合與 Django 和 Flask 等框架一起使用。Gunicorn 的主要功能包括:
- 多工處理:Gunicorn 可以運行多個 worker 處理請求,提高了伺服器的吞吐量和響應速度。
- 簡單配置:Gunicorn 配置簡單,支持命令行參數和配置文件。
- 擴展性:可以根據需要調整 worker 的數量和類型,滿足不同的性能需求。
- 兼容性:與多數 WSGI 應用和框架兼容,包括 Django、Flask 等。
Whitenoise
Whitenoise 是一個 Python 套件,旨在簡化和優化 Django 應用程式的靜態文件服務。它的主要功能包括:
- 靜態文件服務:Whitenoise 可以直接從應用程式伺服器提供靜態文件,而不需要依賴外部的 web 伺服器如 Nginx 或 Apache。
- HTTP/2 支持:Whitenoise 可以充分利用 HTTP/2 協議,提升靜態文件的傳輸效率。
- 簡單配置:配置 Whitenoise 十分簡單,只需要在 Django 設定中添加幾行代碼。
- 文件壓縮:Whitenoise 支持 gzip 和 brotli 壓縮,可以減少文件大小,加快加載速度。
- 無縫集成:與 Django 的集成十分順暢,特別適合小型和中型的專案。
主要設定
Dockerfile
1
2
3
4
5
6
7
8
9
10
11
12
13
14
15
16
17
18
19
20
# Use an official Python runtime as a parent image
FROM python:3.9-slim-buster

# Set the working directory to /app
WORKDIR /app

# Copy the requirements file into the container at /app
COPY requirements.txt .

# Install any needed packages specified in requirements.txt
RUN pip install --no-cache-dir --upgrade pip && \
    pip install --no-cache-dir -r requirements.txt && \
    rm -rf /root/.cache/pip/*

# Copy the rest of the application code into the container at /app
COPY . .

EXPOSE 8888

CMD ["gunicorn", "--chdir", "readingTest/", "readingTest.wsgi","--bind","0.0.0.0:8888"]
requirements.txt
1
2
3
4
Django>=3.2,<3.3
psycopg2-binary>=2.8
gunicorn
whitenoise
在你 project 資料夾下的 setting.py 記得加入 whitenoise
1
2
3
4
5
6
7
8
9
10
MIDDLEWARE = [
    'django.middleware.security.SecurityMiddleware',
    'django.contrib.sessions.middleware.SessionMiddleware',
    'django.middleware.common.CommonMiddleware',
    'django.middleware.csrf.CsrfViewMiddleware',
    'django.contrib.auth.middleware.AuthenticationMiddleware',
    'django.contrib.messages.middleware.MessageMiddleware',
    'django.middleware.clickjacking.XFrameOptionsMiddleware',
    'whitenoise.middleware.WhiteNoiseMiddleware'
]
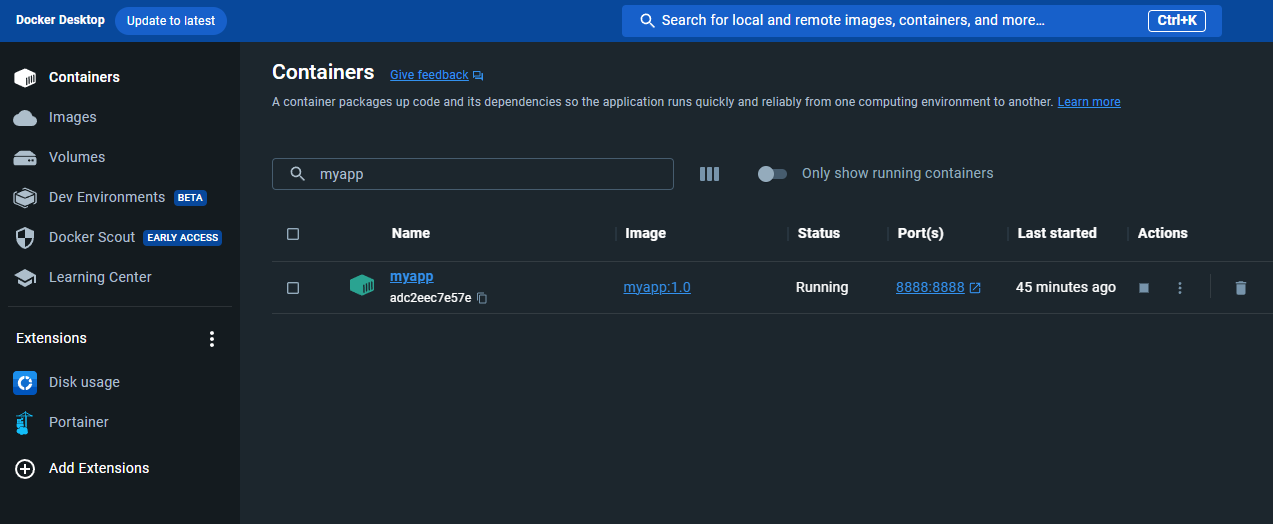
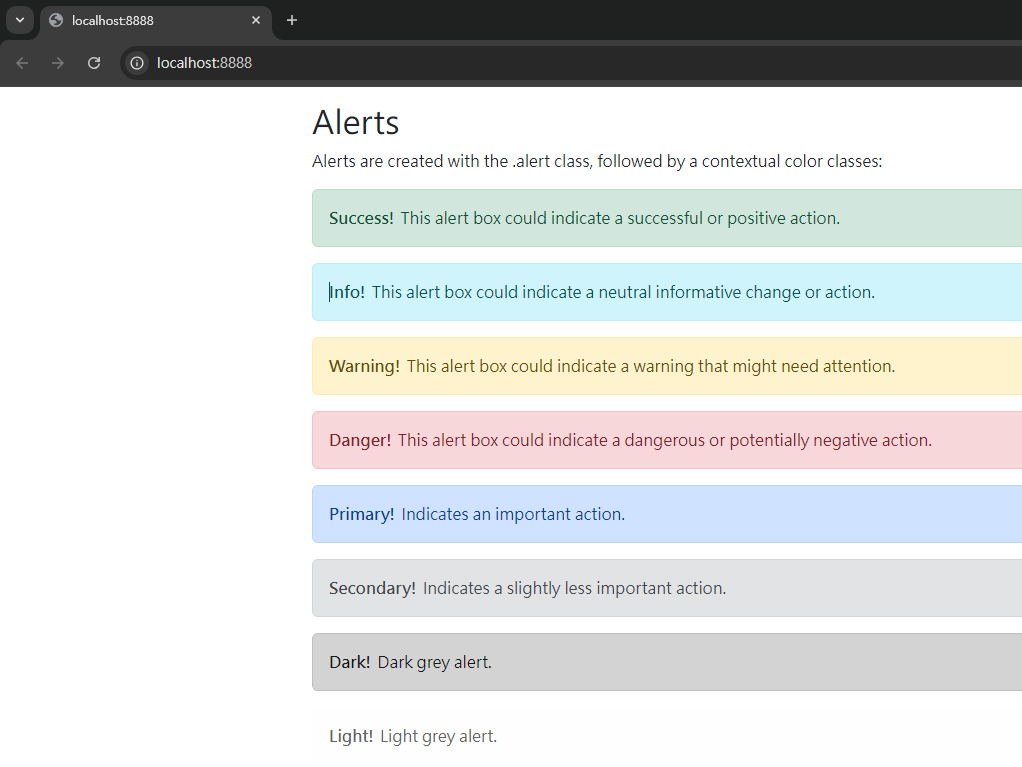
結果
使用 docker 指令將其 build 起來,在 docker desktop run 起服務
這樣方便的部屬方式,也是花了很多時間摸索出來的,希望可以幫上你的忙。