
We need .lib .dll and header
Setting Up a DLL Project:
Creating a DLL project can indeed be useful, but the setup process can be tedious and error-prone.
The following example demonstrates
- export dll function
- export dll struct
- export dll class
- export dll template function
Let’s get started
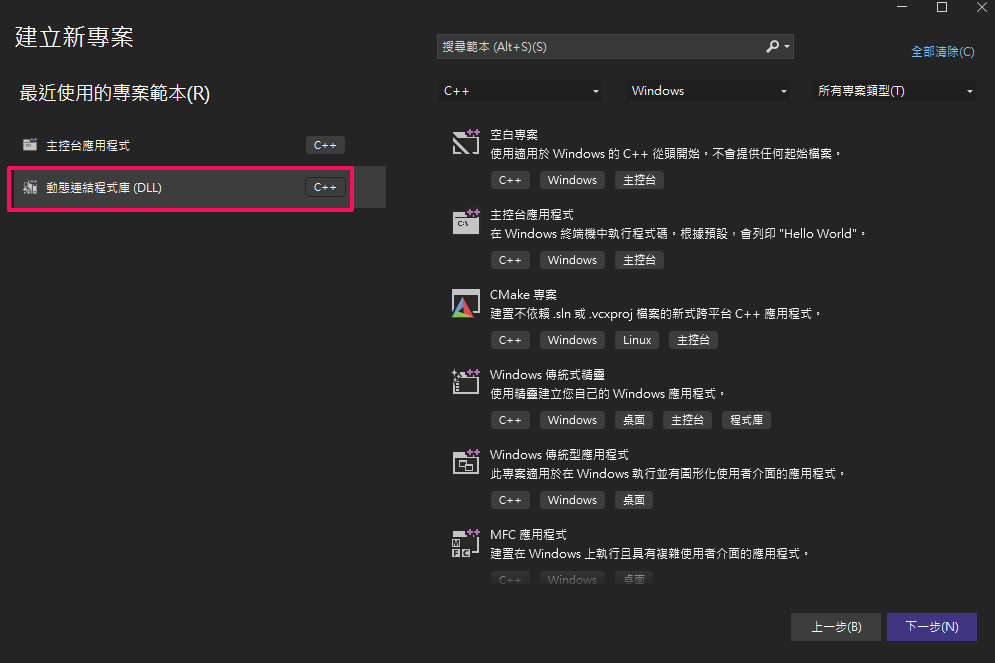
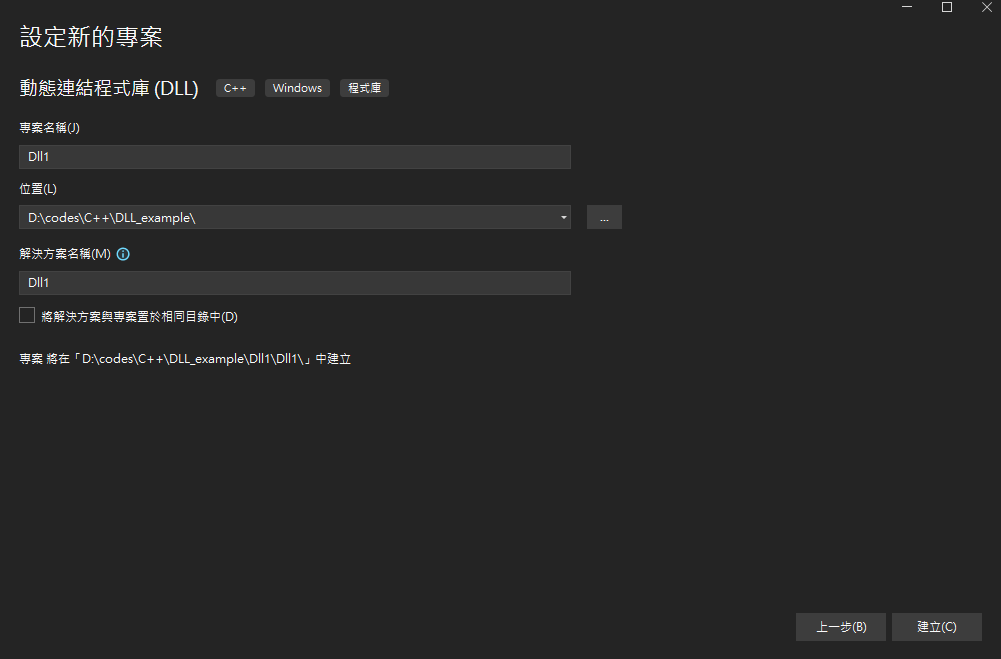
Creating a DLL Project:
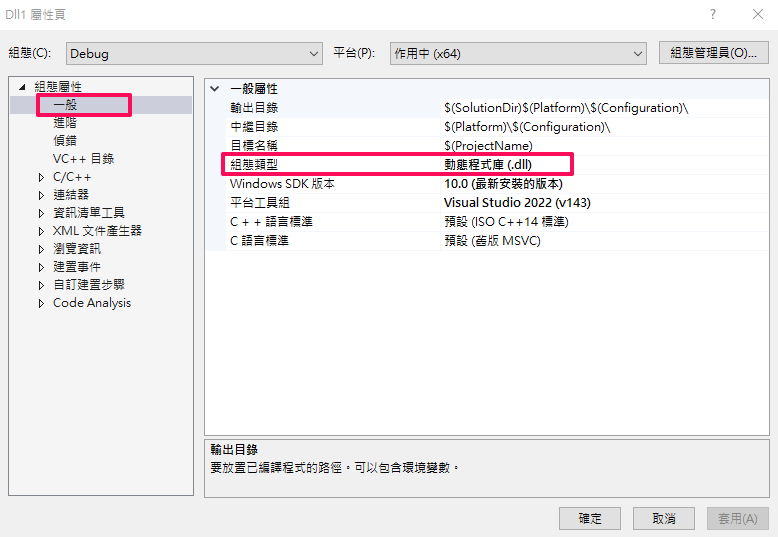
Open project properties and ensure that the configuration type is set to “Dynamic Library (.dll)”.
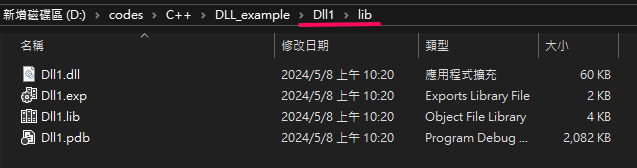
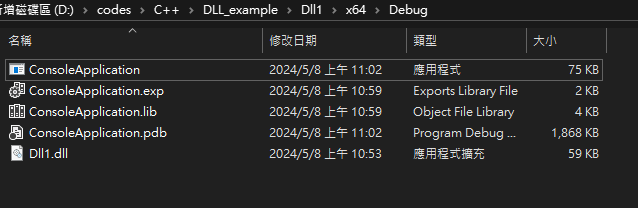
Set the output directory to a separate folder. This ensures that the .lib file is not bundled with the executable.

Output as following
Why?
Although the .lib file itself does not contain the actual function implementations, it does contain the names of the functions and their corresponding addresses in the DLL. Therefore, if someone gains access to the .lib file, they can view the names and addresses of the exported functions in the DLL, potentially reverse-engineering the DLL’s implementation.
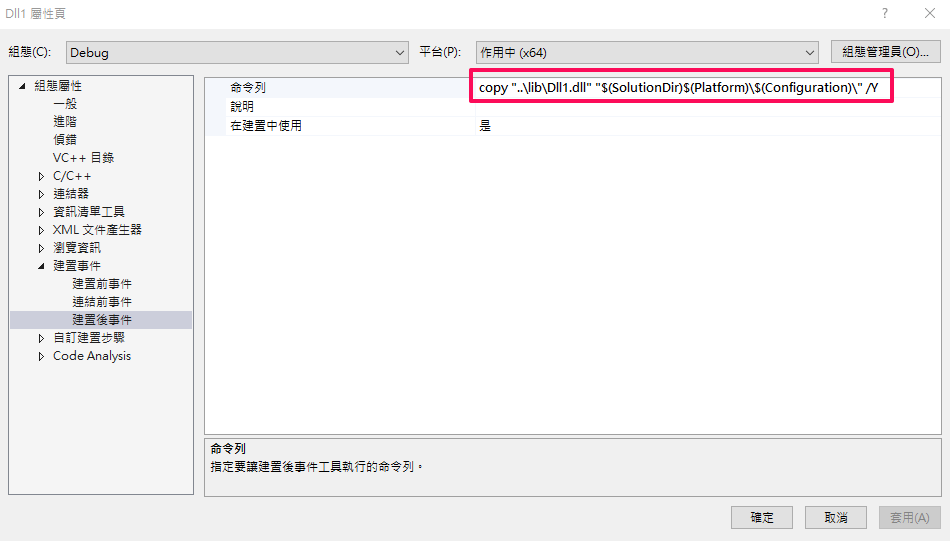
However, DLLs need to be placed together with the executable to execute properly. Therefore, copying only the DLL file using post-build steps is sufficient.
Definition in .h
1
2
3
4
5
6
7
8
9
10
11
12
13
14
15
16
17
18
19
20
21
22
23
24

#pragma once
// export function
extern "C" __declspec(dllexport) int AddFunction(int a, int b);

struct __declspec(dllexport) MyStruct {
    int number1;
    int number2;
};

class __declspec(dllexport) MyClass {
public:

    MyClass();

    int MultiplyBy10(int a);
};

template <typename T>
__declspec(dllexport) T AddTemplate(T a, T b)
{
    return a + b;
};
Implementation in .cpp
1
2
3
4
5
6
7
8
9
10
11
12
13
14
15
16
17
#include "pch.h"
#include "MyDLL.h"

int AddFunction(int a, int b)
{
    return a+b;
}

MyClass::MyClass()
{
}

int MyClass::MultiplyBy10(int a)
{
    return a*10;
}
Alright, the DLL is set up successfully. Now, how do we use it?
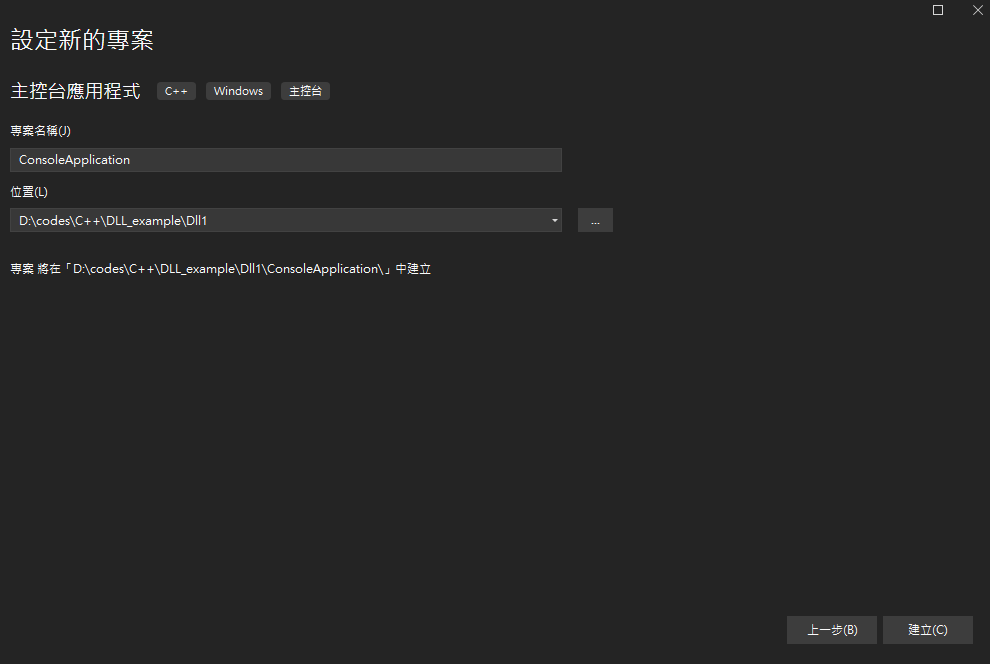
Creating a Project Using the DLL:
Let’s create a console project to demonstrate.
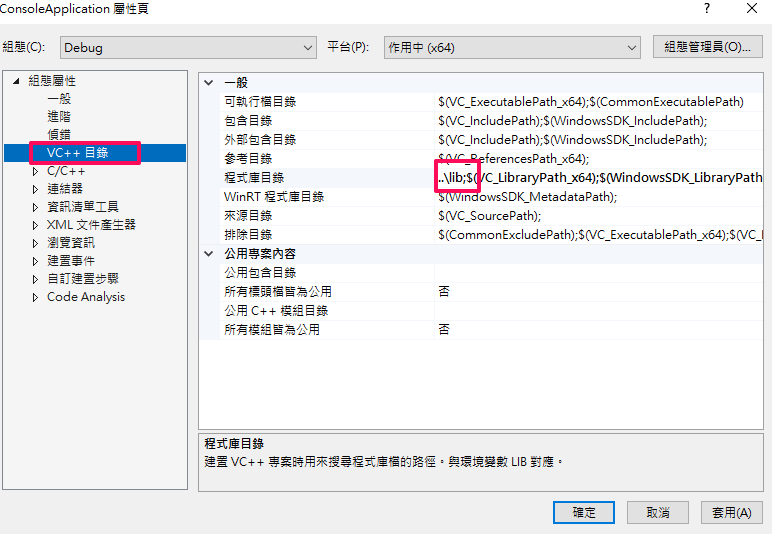
Specify the directory where this project should find the lib file (it’s recommended to use a relative path).
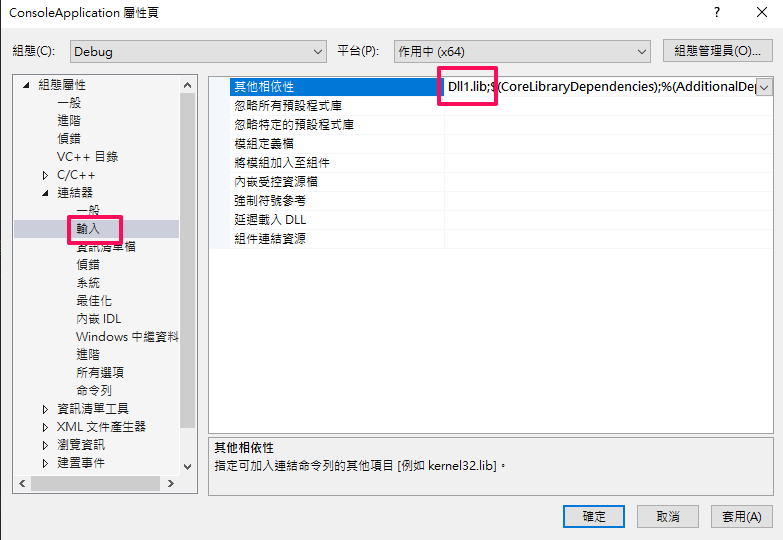
Specify the name of the lib file that the linker should use.
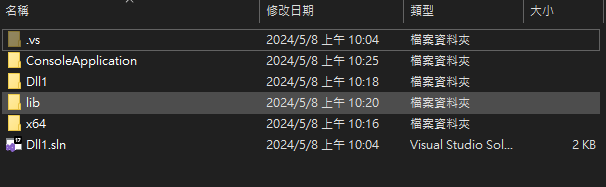
Folder Structure
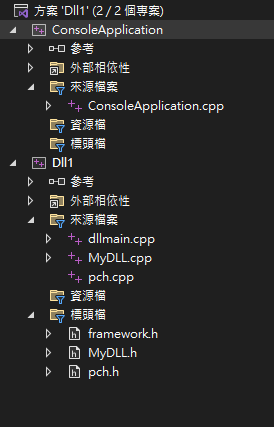
How it Looks in Visual Studio
1
2
3
4
5
6
7
8
9
10
11
12
13
14
15
16
17
18
19
20
21
22
23
24
25
#include <iostream>
#include "../Dll1/MyDLL.h"
int main()
{
    std::cout << "DLL demo : \n";

    std::cout << "-----------------" << std::endl << std::endl;

    std::cout << "Call AddFunction in DLL : " << AddFunction(5, 5) << std::endl<< std::endl;

    MyStruct myStruct{1,5};
    std::cout << "Use MyStruct in DLL : " << myStruct.number1 << std::endl;
    std::cout << "Use MyStruct in DLL : " << myStruct.number2 << std::endl << std::endl;

    auto myClass = new MyClass();

    std::cout << "Use MyClass in DLL : " << myClass->MultiplyBy10(10) << std::endl << std::endl;

    std::cout << "Call AddTemplate in DLL : " << AddTemplate(1.1, 2.3) << std::endl << std::endl;

    std::cout << "Call AddTemplate in DLL : " << AddTemplate(0.1f, 0.3f) << std::endl << std::endl;

    system("pause");
}
Output Folder
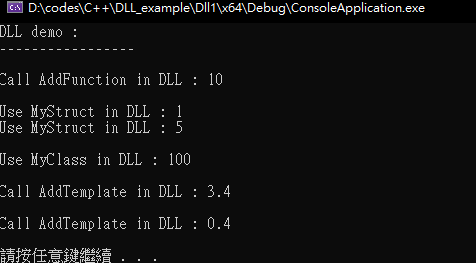
Result
The process is quite tedious, indeed. Phew! Thanks for sticking with it till the end!